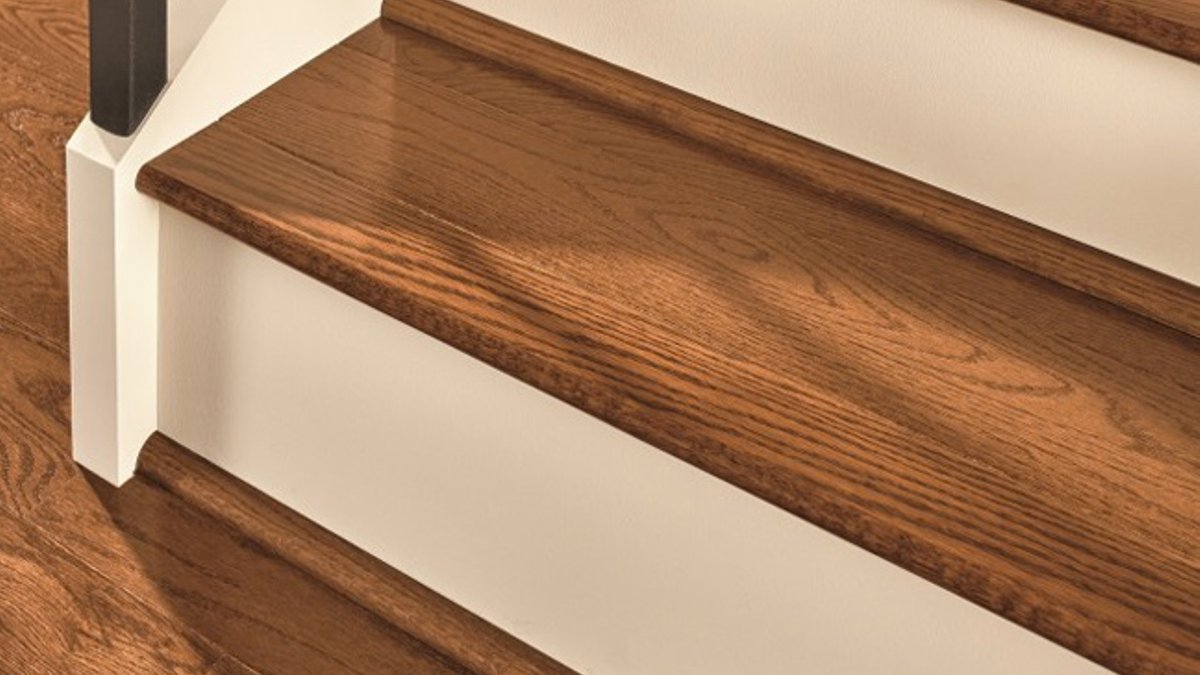
Squeaky stairs can be bothersome, especially when someone sneaks downstairs for a late-night snack. The loud groan of a stair is jarring and annoying. Squeaky stairs are caused by wear and tear on the wooden staircase components that cause one wooden section to rub against another, or against a metal nail, and are not usually a sign of a serious problem with your home.
Understanding Staircase Components
Treads are the horizontal surfaces onto which your feet step. Risers are the vertical surfaces in between the treads. Stringers are the sawtooth-shaped boards running up the sides of the risers and treads that keep the staircase together and provide support. Banisters are the handrails running the length of the staircase. Balustrades are the posts that support the banisters. The nose is the part of the tread that hangs over the riser.
Most reasonably handy folks can tackle a squeaking stair on their own. Before getting started, however, it’s essential to know the correct terminology for staircase components.
Determining the Source of the Squeak
Walk up and down the staircase, taking note of any squeaky steps. Mark the culprits with a piece of tape or a Post-it note. Stand in the center of each noisy step. Gently rock from side to side and then forwards and backwards to determine whether the squeak is coming from the back, the side, or the front of the tread.
According to the report, “A lot of the time, wooden stairs start squeaking due to fluctuating humidity levels, which cause the stair treads and risers to expand or shrink.” Adjusting humidity levels and adding some extra nails to the risers of the staircase has made the stairs a lot less squeaky.
Fixing the Squeak
There are several ways to stop or quiet the squeak. One of the easiest ways is to use lubricant to quiet the creak. Select a lubricant like powdered graphite or talcum powder. Don’t use an oil-based product, which can warp wood, turn sticky with dust, or leave things slippery if overused.
Another method is to use screws to tighten the fitting between the tread and the riser with a few screws. Drill three evenly spaced pilot holes across the front of the tread where it lines up with its riser. Drill in three #8 screws, making sure to sink them slightly below the surface of the tread.
Additionally, you can nail the tread firmly into its stringer using 8d or 10d nails. Repeat to create two more small pilot holes on the side of the tread near the balustrade. Next, drive your nails into the pilot holes, directing the nails at a 45-degree angle.
Stabilizing Creaky Stairs
Many interior staircases don’t allow easy access to the area underneath the stairs, but if yours does, you’ll get the best results silencing your squeaks by approaching them from below. Source three small triangular wooden wedges known as glue blocks for each squeaky step.
Apply wood glue to the two shorter sides of each glue block, and then firmly press the blocks into the right angle created by the meeting of the riser and the tread. Position one block in the center of the step and the other two at opposite edges of the step.
Driving Screws Through the Carpet
Your stairs are carpeted, but still making noise. One option is to lift up the carpet and either push it aside to put back into place, or get rid of it and replace it with new carpet or another flooring material that can impact your home design.
If you intend to put the carpet back in place after you’ve made the repair to the stair, start at the bottom of the staircase. Using vise grips, lift carpet as far as you need to to reach the squeaky stair. Fix the stair using one of the methods above. Reattach the carpet to the stairs.