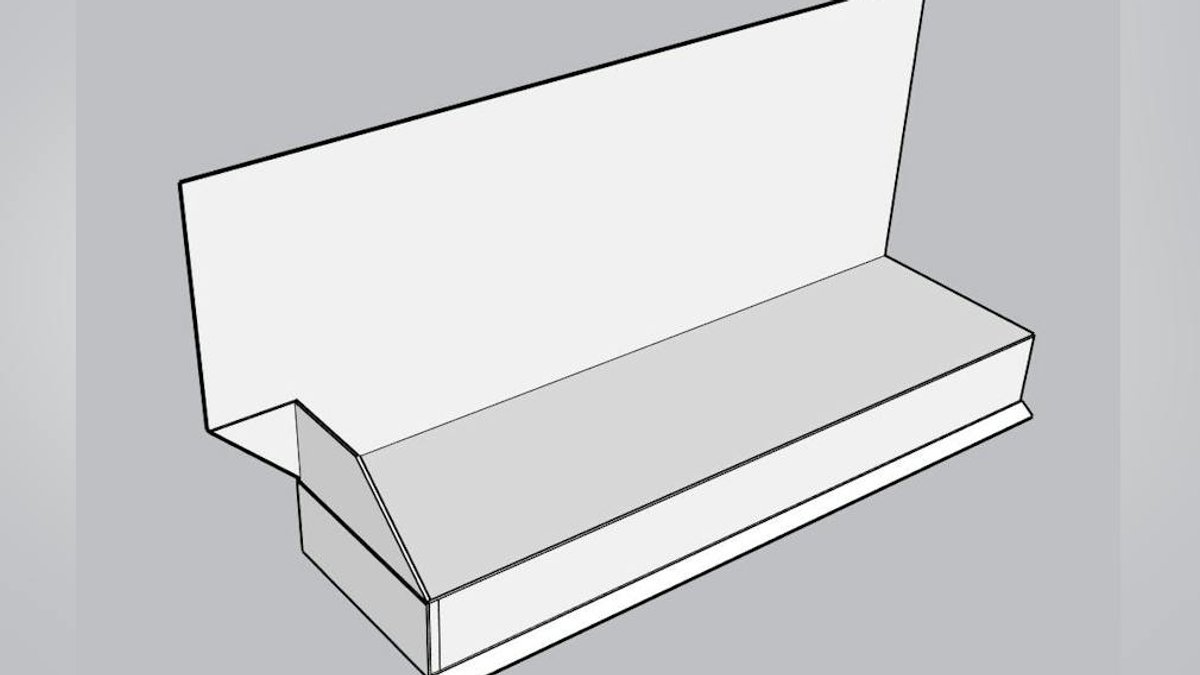
International Flashing Awareness Day (IFAD) aims to educate people about head flashings with end dams, an important aspect of water protection for windows. The head flashing sits atop the window casing to protect it from sideways rain and to shed water that might otherwise get behind the siding.
Water leaks often occur at the edges and/or overlaps of the flashing. The flashing that ends at the edge of the window casing creates a vulnerable spot where water can wrap under it due to surface tension, allowing moisture to infiltrate the wall cavity.
Head Flashing Methods
There are two common methods for creating head flashings with end dams. The first method involves folding the ends down, allowing water to flow down the side and front. To make the fold-down end, the flashing is cut about ½ inch longer than the window casing length, and then ¼ inch is snipped at the two bends, ensuring a tight fit.
The vertical leg is folded back along the side, and then the horizontal leg is folded down over the vertical one. This method is quick and simple, and much better than nothing at all.
Read Also: Remodeling market sentiment remains stable
End Dam Head Flashing Detail
A higher-performance option creates an end dam at each end of the flashing, directing any collected water out at the face. Remodeler Aron Jones, of Big Dog Construction, illustrated this method in a video on the IFAD YouTube channel. He draws three lines on the brick-mold head flashing at 3-1/2 inches, 2-1/2 inches, and 1-1/2 inches from the end, establishing precise locations for the cuts.
Aron uses a small template piece to keep the angle straight and mark where it goes, and then cuts away the marked pieces with a fine saw. He bends one tab up and another back under the horizontal to cut out the angle piece, creating a sealed corner that requires no sealant and improves durability.
Crimping with seamers or pliers flattens the formerly bent tab back into the plane, giving it a cleaner look and a smoother surface for paint. Aron notes that this is finish work, and the end result will be visible once the project is completed. The second bend is back down, at the top of the angle cut, and the tab can be trimmed for a neater finish, reducing the chance of accidental injury.